Let’s Get This Party Started
Before you lock your PDF, spend some time making sure the fields you have customized are correct.
Step 1
For macOS users
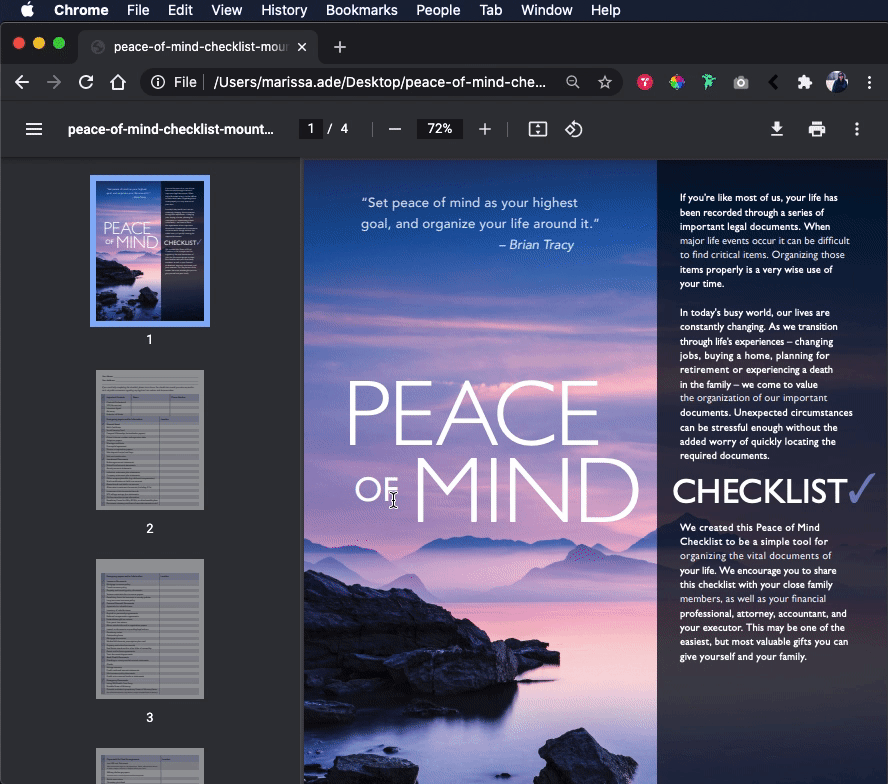
Next, open your web browser and use it to open your PDF. This can be accomplished by clicking “File” at the top of your browser and then clicking “Open File.”
For Windows users
Next, open your Windows File Explorer and open your .PDF by double-clicking. To open File Explorer, click on the File Explorer icon located in the taskbar. Alternatively, you can open File Explorer by clicking on the Start button and then clicking on File Explorer in the Start menu.
Step 2
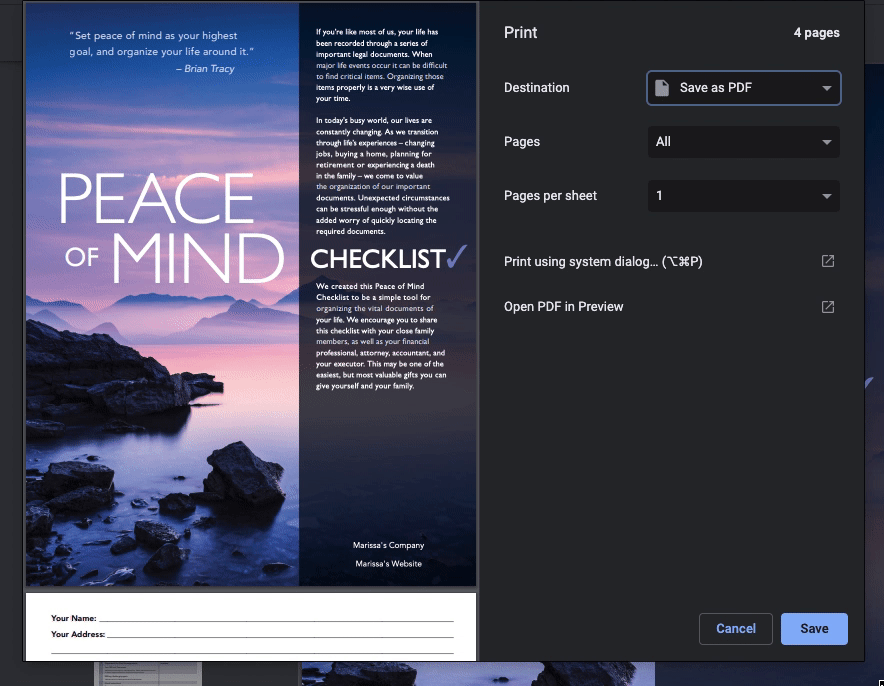
Now that your PDF is open select your Print option from your browser menu. This can usually be found under "File."
Step 3
Now, make sure you have changed your default printer to either "Print to PDF" for Windows users or "Save as PDF" for macOS users.
Step 4
Finally, click either "Print" or "Save" depending on your operating system.

Step 5
Once you name your file and it’s processed, that’s it! You’re done. Now you can use your PDF secure in the knowledge that your downloadable is uneditable. Enjoy!